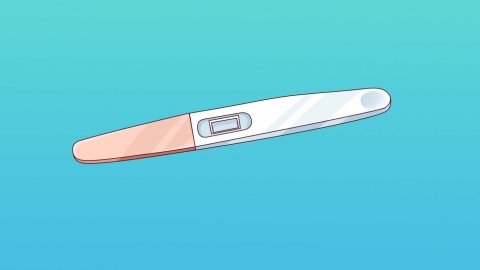
How to use a pregnancy test stick
Generally, the instructions for using a pregnancy test stick should include selecting an appropriate time, preparing the test stick, collecting a urine sample, performing the test, and reading the results. If there are any questions, it is recommended to consult a doctor promptly. The detailed steps are as follows:

1. Selecting the appropriate time: It is generally recommended to use the first urine after waking up in the morning, as this urine is more concentrated after a night's sleep and has higher hormone levels, making it easier to detect pregnancy. Additionally, avoid drinking large amounts of water before collecting the urine, as this may dilute the hormone levels in the urine.
2. Preparing the pregnancy test stick: Before using the test stick, carefully read the instructions on the packaging to ensure proper usage. Check the expiration date and the integrity of the packaging to avoid using expired or damaged test sticks.
3. Collecting the urine sample: Use a clean container to collect the urine sample, ensuring that the sample is fresh. Avoid using the initial or final portion of the urine stream, as this may affect the test results.
4. Performing the test: Hold the handle end of the test stick firmly, with the absorbent end facing downward, and gently immerse it into the urine for several seconds to one minute. However, ensure that the urine does not exceed the designated limit or marking line on the test stick, as this may affect the accuracy of the results.
5. Reading the results: Place the test stick flat on a stable surface and avoid moving or shaking it. Wait for 3 to 5 minutes before checking the result. If two lines appear on the test stick, the result is positive, indicating possible pregnancy. If only one line appears, the result is negative, indicating no pregnancy.
However, if the test stick shows a positive result, it is recommended to visit a hospital promptly for further confirmation and prenatal examination.


